
FreeCAD first days
I’ve finally started to play around with FreeCAD. It’s been on my list for a very long time and I am super happy to finally have gotten time and opportunity to seriously look at it.
My go-to CAD software is CATIA – for which I have a few years of instructor experience allowing me to flag the expert-use badge – but for the most part I am able to do quite a bit of stuff done with Abaqus. This is because I have used the latter software for a very long time and have deep knowledge. I must still admit that when it comes to drawings and more advanced CAD stuff it easily breaks unless extreme precaution is applied.
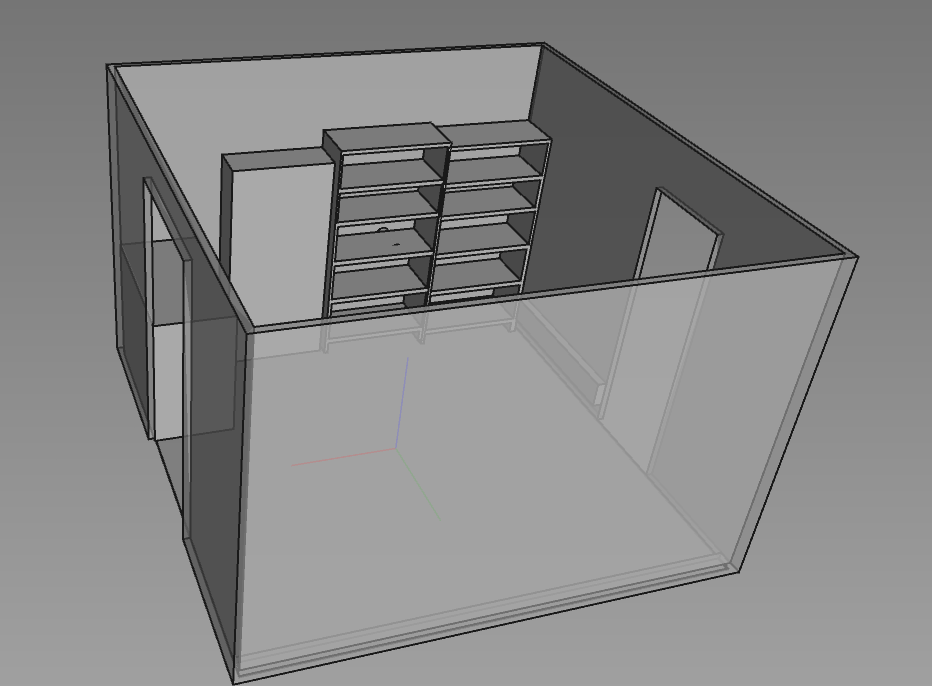
For hobby use – mostly for 3D printing and Architectural / Interior design and minor mechanical components I really want to use an open-source tool. Vendor-lock-ins isn’t really a big concern for me as I don’t have the habit of looking back very often – I’d rather do it again from scratch using current tools. Regardless I want to use an open-solution and I think FreeCAD seems to be the best one out there.
User Interface
It looks quite nice if you install “Glass” and click “Q+1” which gives you the CATIA-esq tree on the left side. Really neat feature. That was almost the first thing I did – this gives FreeCAD a modern look to it. I also changed some antialiasing settings – still have some banding issues with the background, but that is minor.

Usage and Build Up
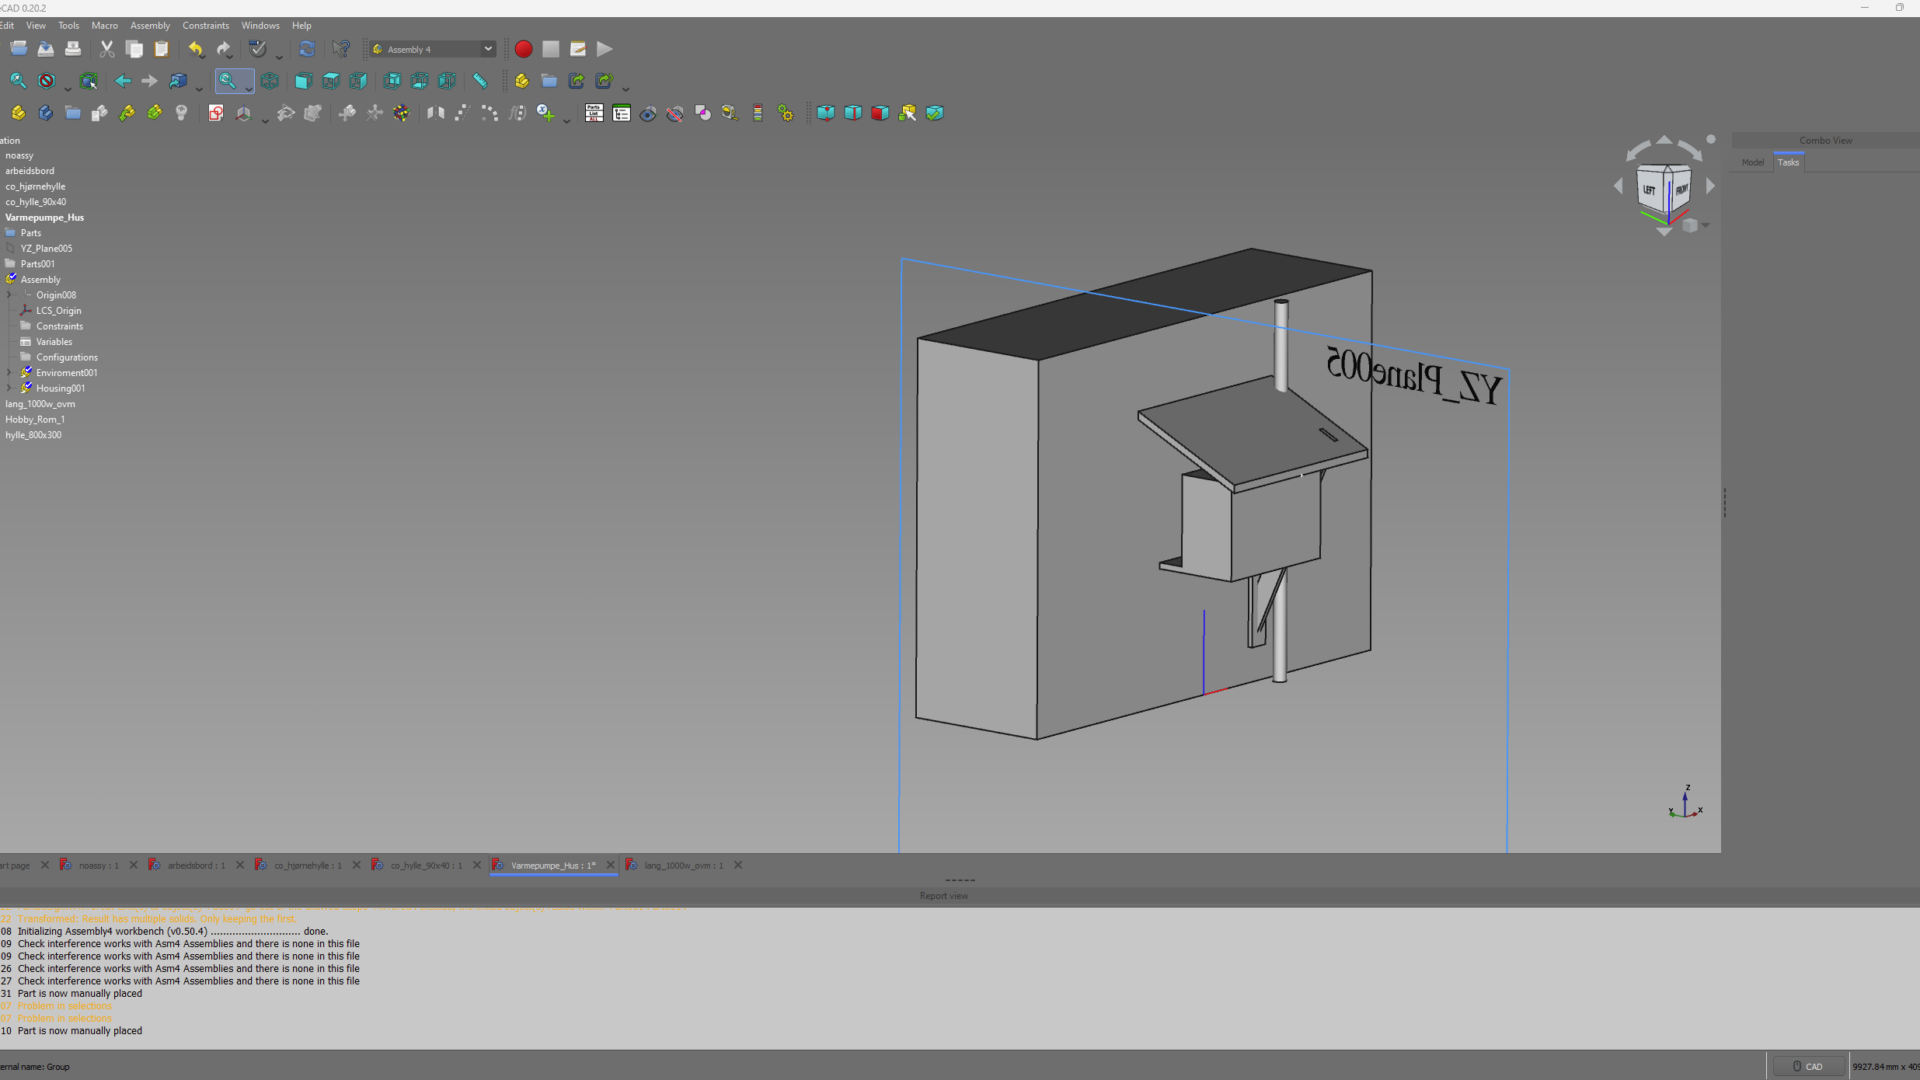
Having installed Assembly 4 you can easily create parts which consist of one or more bodies and have multiple parts in an assembly.
It seems very intuitive at this point – even if I lack a lot of tools and feel that my methodology fights with the tool it self. I find it hard to not be able to just create pads and extrusions from surfaces…!
I currently have 4-5 hours in the tool without using any tutorials. That has to change quite fast – as I see a lot of benefits of this tool. I’ll give this a serious go!
Looking forward to the continuataion